ok wait but how'd you do that in bitsy
ok wait but how'd you do that in bitsy
A note up front: all the code for this game is available in a github repo (you can also just download the game's html file itself) and the hacks used (along with a bunch of others) can be found in another.
So since this game ended up being more of a tech demo than a proper game, I figured it might be helpful to do a quick breakdown of how some of it works! Let's start with the easy stuff:
Audio
The audio for this game is generated using PCM tool, a thing I wrote recently for making lo-fi, low-footprint web audio. In this case, it's basically just a few white noise oscillators fading in and out. Notably, it's all generated at runtime from a tiny script pasted into the page (this is the fun/cool thing about PCM tool).
Controls
It may not have come up for many folks who played it, but this game has dual analog stick controller support! Most of the hard work is being done by the gamepad hack (it hooks up all the standard bitsy controls out of the box), and a small bit of extra code was added to hook up the flashlight direction to the right analog stick. It also keeps track of whether you last moved the mouse or the right stick for a smoother experience if you switch between the two at any point.
Transparency
Typically, bitsy sprites/items which occupy a tile completely overwrite the tile when rendering. The transparency hack is used to allow sprites/items to render on top of tiles in this game to complement the lighting effects (I personally think this works really well on the last couple rooms).
Avatar
Another typical bitsy constraint is that the avatar is a single-colour sprite just like everything else. This game uses the multi-sprite avatar hack (which combines nicely with the above transparency) to create a multi-colour avatar. It also uses the directional avatar hack (slightly customized) to make the avatar's eyes look towards where they're moving.
Resolution
This is what actually led to the creation of this game: a brand new hack made specifically for bitsyfolk who wanted to enter #LOWREZJAM, itsy-bitsy! I won't go into the nitty-gritty, but it's basically overriding a bunch of places in the bitsy source where hard-coded sizes and constants are defined such that the engine can operate at 64x64px instead of the original 128x128px + 256x256px resolutions.
Now for the real fun bit:
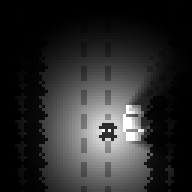
Lighting
The lighting effect is created using the canvas replacement hack. The canvas replacement hack is one of my favourites, but unfortunately hasn't seen too much use since there's a bit of a higher barrier to entry than most (hopefully this devlog will help with that!): its function is to copy bitsy's output, and re-render it in a new WebGL-enabled canvas. This may seem like a weird idea for a hack, but importantly, it gives us access to shaders!
Because of how we're copying the output over, what we can actually do with shaders at this point is a bit limited: we're pretty much locked to post-processing shaders on the already-rendered bitsy scene as a single whole texture. I've taken advantage of this in a couple other games in the past to create basic screen-space effects, but for this game, there's an entire basic raytracer built into the shader.
Because this game is running at such a low resolution, performance can mostly be ignored and the raytracer written for it is fairly naïve. The algorithm is probably more straightforward than one would expect:
    float light = 1.0;
    float wall = 1.0;
    float steps = distance(source, coord) / diag;
    for(float i = 0.0; i <= diag; i += inc) {
        vec2 p = mix(source, coord, i/diag);
        vec3 sample = texture2D(tex0, p/resolution.xy).rgb;
        wall = min(wall, sample.r);
        float bleed = sample.g;
        light = mix(light, wall, (1.0 - bleed) * steps);
    }
    light = clamp(light, 0.0, 1.0);
All it's really doing is taking the position of a pixel, finding the line between that pixel and the light source, and sampling multiple points along that line. Since we've only got a single texture to work with, the input for calculating lighting is limited to the colour channels, and a few global variables (e.g. size of the screen, granularity of the sampling, etc).
The way we get from such sparse input to highly varied real-time shadows is to come up with a custom "material" system with properties stored in the RGBA channels. Each channel is used in the shader to account for a specific aspect of the lighting behaviour.
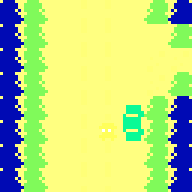
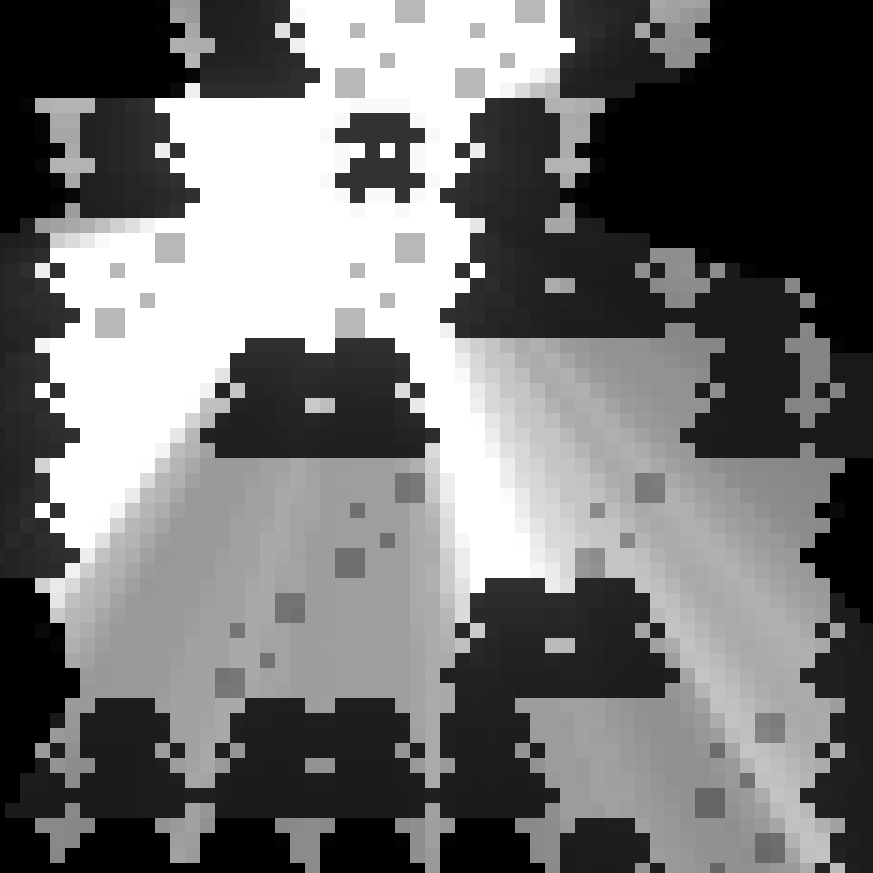
Let's start with red: The red channel is probably the most straightforward. It controls how opaque the shadow cast by a pixel is.
Solid walls are given a red value of 0, and cast shadows that fully black out the pixels below them, whereas floor tiles have a red value of 255, and don't cast shadow at all. Some other objects have values in between, and cast shadows of varying transparency.
As I was working on the game, I internally thought of this as a rough equivalent for "height"; that concept doesn't actually map to how light and shadow work at all, but the different partially transparent shadows in the top-down view communicate a sense of depth pretty well, even if it's not realistically accurate in any way.
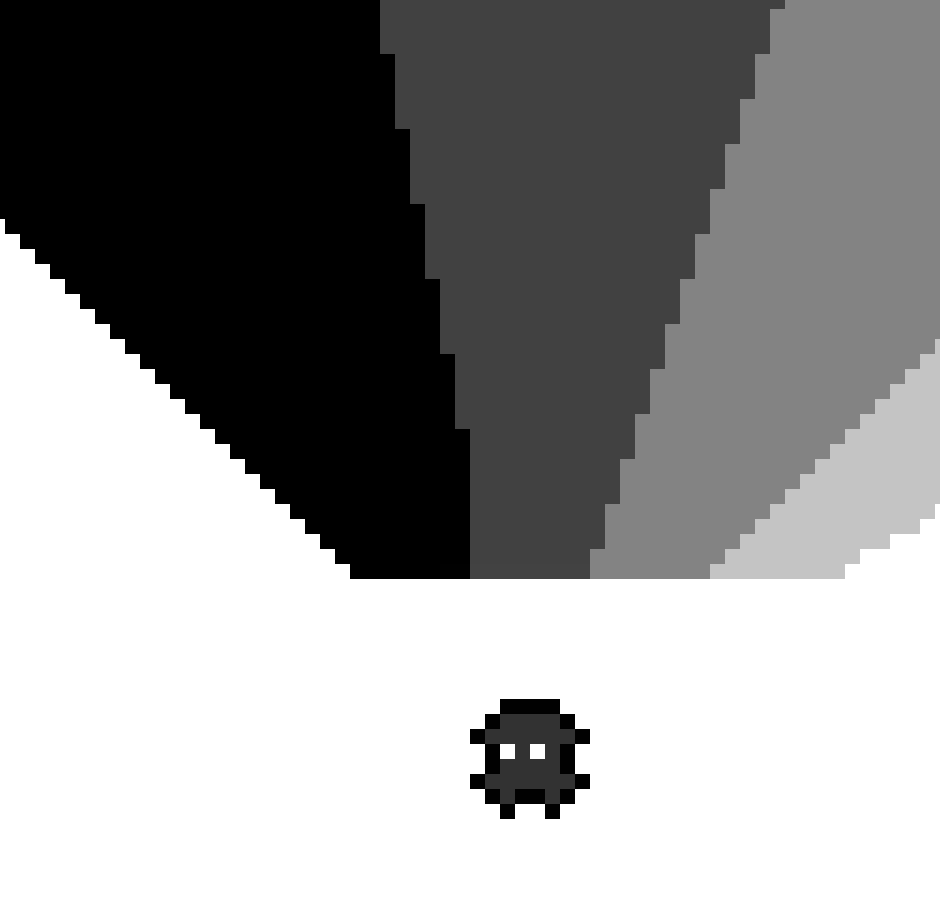
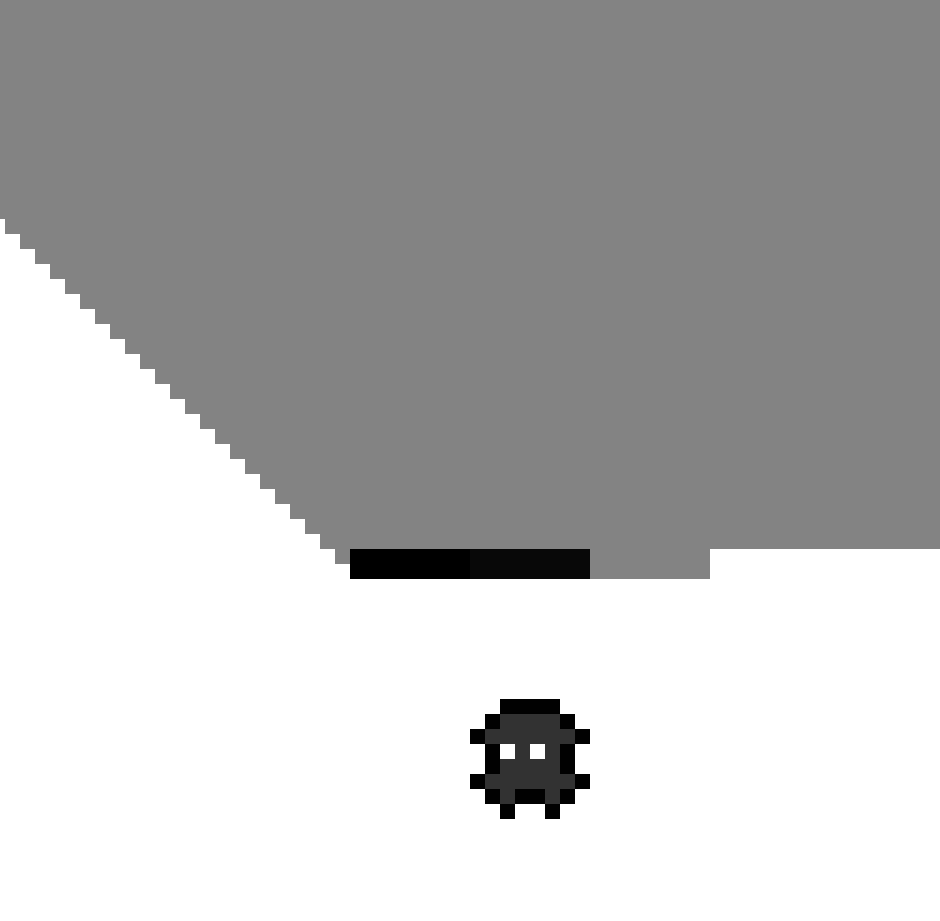
The green channel is a personal favourite: it functions as a form of translucency, or light absorption/bleed. In the actual shader code, this translates to it being a control for what fraction of light is actually blocked by each individual sample. This is easiest to show by example:
A green value of 0 means the maximum shadow is applied, and so a simple uniform shadow is cast. A green value of 255 means the minimum shadow is applied, and no shadow is cast (this value isn't a particularly useful one, since it's functionally very similar to the equivalent red value). Values between 0 and 255 mean that as a ray is traced through pixels in shadow, only a fraction of the maximum shadow is applied, and a shadow is cast with brightness relative to its distance from the light source. (the above diagram shows 0,100,230,250,255)
These softer, interpolated shadows are used quite liberally in the game; even the supposedly solid black pixels use a slight amount of green.
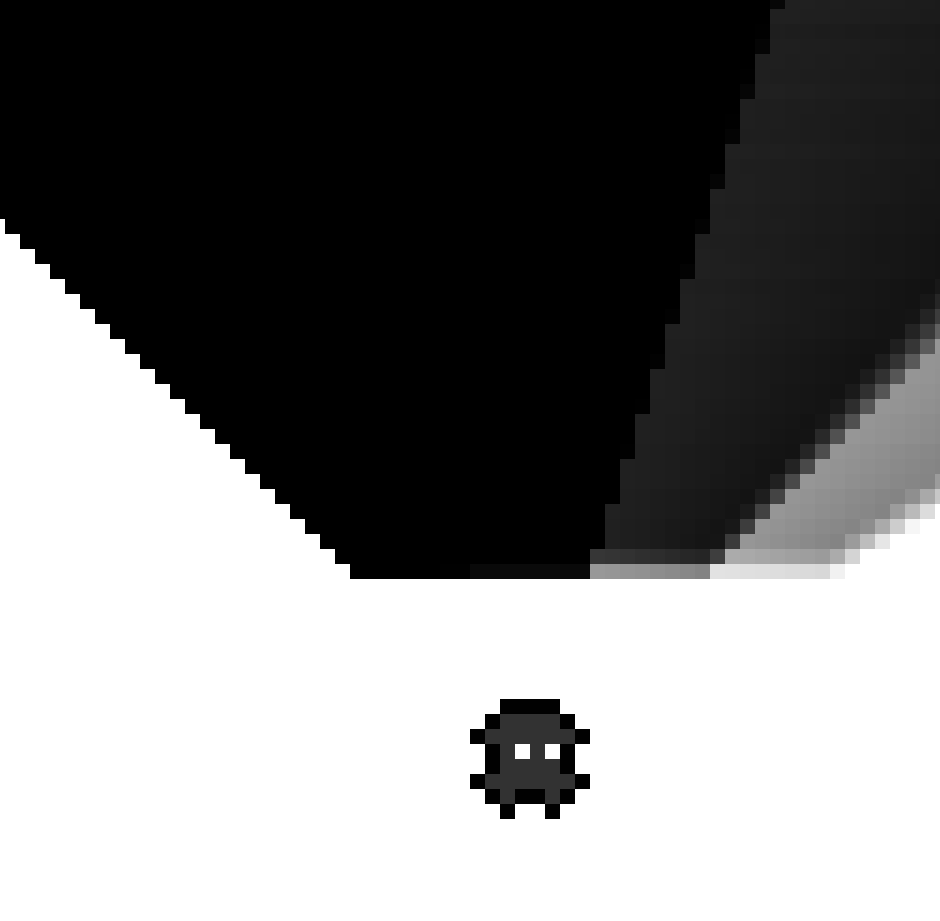
The blue channel is a multiplier applied to the final lit value of a pixel. In essence, it controls the brightness of a pixel. If we wanted to make an object fully black even when lit, we could give it a blue value of 0. If we wanted to make an object appear white under very little light, we could give it a blue value of 255. If we want to use the natural value from the lighting calculation, we can give it a blue value of 128.
Most things in the game use some middling blue value; partially because it's a multiplier, and partially because the calculation for it scales a bit weird, most of these were arrived at through trial and error.

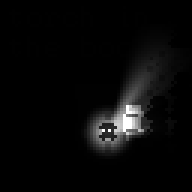
These values can be combined in many interesting ways; for example, the player's body and eyes have low and high blue values, respectively. They also have a mostly-invisible border, which has a neutral blue value such that if the player stands on top of another tile, their form isn't lost. None of these colours cast shadow either, which allows them to have visual contrast without blocking the light source which is directly on top of them.
The alpha channel's purpose in the shader is a bit more specific than the RGB channels. The RGB all control different aspects of the lighting, but early on I realized that one of the limitations of doing an effect like this completely in a post-processing shader was that it also got applied to the UI of the game; i.e. bitsy's text boxes.
The alpha channel is used to solve this problem: the original colour values of the bitsy canvas are mixed with the calculated lighting values based on the alpha value. All of the "in-game" pixels (i.e. tiles/sprites/items) have an alpha value of 255, which means they use the lighting values, and all of the UI elements )i.e. the text boxes and text itself) use an alpha value near 0, which means they use the original values. This required slightly hacking the bitsy source (the text box already has an alpha of 0 by default, but the text itself typically has an alpha of 255), but solves the problem quite effectively!
Note: this last bit might seem a bit confusing if you think about it. "The UI renders on top of the game; how can it have an alpha value of zero? Wouldn't you see the game underneath it?" The reason this works is due to the somewhat uncommon method bitsy uses to draw things to its canvas by default. Instead of drawing them as images, layering each into the canvas, it "puts" pixels to the canvas, ignoring any form of alpha-blending and completely overwriting the existing pixels (the transparency hack mentioned above actually works by replacing this for the in-game assets).
And that about covers it! There is actually quite a bit of other code in the final shader which didn't end up getting used in the game, and other elements not explained here (e.g. attenuation, the cone of the flashlight, little bits of RNG for polish, etc.), but hopefully this has been a decent peek into how you can take advantage of post-processing to create some interesting effects.

Comments
Log in with itch.io to leave a comment.
Great post
This is fascinating stuff! I'm trying to do a field-of-view kind of hack like a simpler version of your pre-flashlight lighting here, but as you say, the canvas replacement has a high barrier of entry! I'll keep trying!